
MAKING COOKIES should be easy and FUN!
Make a cookie plan. Spread your project over several days.
Dough Recipe – Roll out as thick or as thin as you prefer (but be consistent). Baking time will need to be adjusted as needed. Dough can be made ahead and kept in the refrigerator for a couple or stored in the freezer for a month.
Frosting Recipe – Royal Icing (contains meringue powder) vs. Glace (contains corn syrup) Most people use either one or the other. I use both. I find Glace tastier & easier to 'frost' with, so I use that for the base frosting and then I use royal icing to decorate. You should use whichever you prefer to work with and eat. Make frostings ahead and keep in refrigerator, but bring all items to room temp before using. Keep cookies level when frosting, moving, etc. to avoid getting cracks in the frosting since it is 'self-leveling'.
Roll out cookies – between two sheets of waxed paper, use rolling pin guides for consistent thickness. Make your own guides with a wooden ruler or have someone cut you a thin strip of wood to match whatever thickness cookie you desire. Cutout cookies can be frozen (wrap well), either baked (will be just a bit more fragile after defrosting) or unbaked. Can bake cutout cookies from frozen, but will need to bake for a couple extra minutes.
Cut out - cutters don’t have to be used only one way. Combine two shapes together, or cut off part of a cutout shape. Make your own template using a plastic lid or contact paper. Trace around the shape with a fondant cutting tool (like a little pizza cutter) instead of a knife so you don't cut through your waxed paper.
Bake – Bake on parchment (wipe and reuse several times). This recipe does not spread. Cookies can be placed about 1/4" apart. If they do touch when baking, use a zester to clean the edges after they cool. Rotate cookie sheets halfway through baking in case your oven has a hot spot. Keep an eye on these, it only takes 30 seconds to 1 minute to burn! After baking, I 'iron' my cookies. I use a fondant smoother to press down on the top. This isn't necessary, but if you do see a bubble, you might just press on it with a spatula. Store cookies in an air-tight container until ready to decorate. Room temperature is fine for 3-4 days. Any longer, think about refrigerating or freezing them.
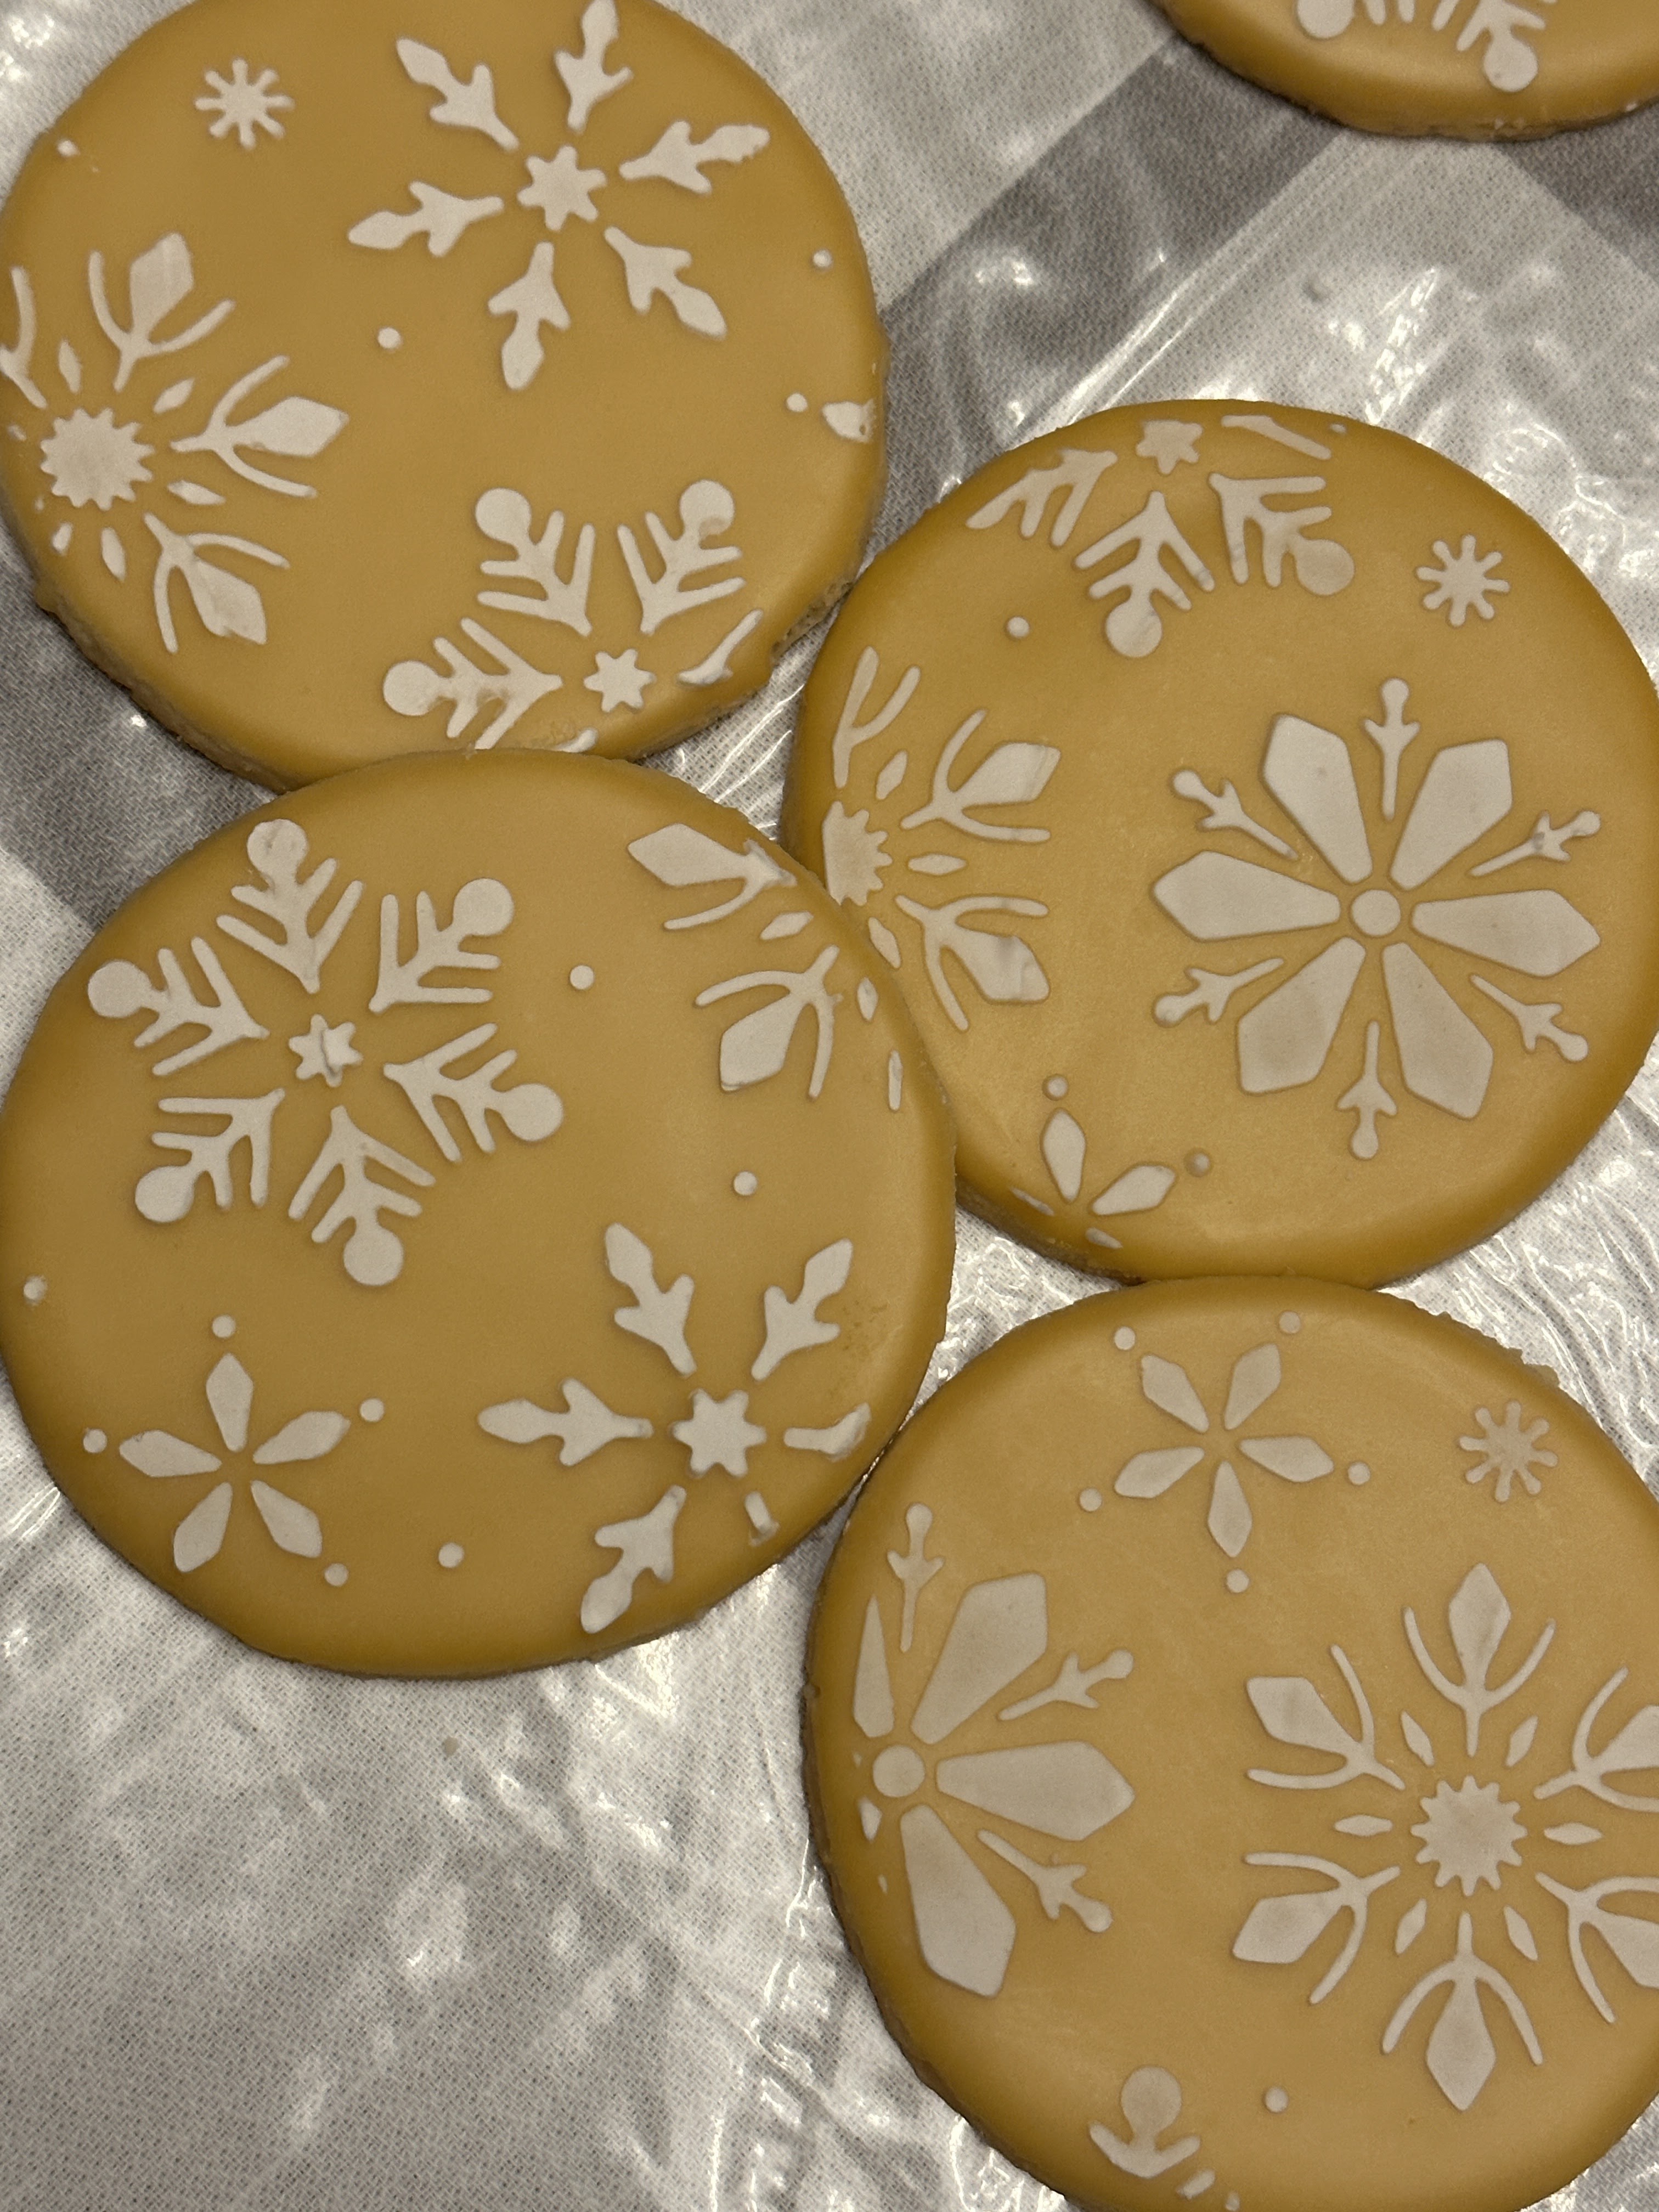
Decorate - use sugar, sprinkles, royal icing layons (make ahead of time-see tutorial link below) or fondant to decorate quickly. Pipe royal icing or glaze onto wet or dry cookies. The base coat must dry for 24 hours before piping on top in a dark color to avoid bleeding. I prefer not to risk this.
Cookies frosted with glace do not freeze well.
I prefer to frost with glace, then immediately decorate with royal icing (or glace) for a 'wet on wet' design.
Glace will 'sink' into the wet base frosting. If you prefer your decoration to 'sit' on top, decorate the top right away with stiff royal icing (or glace thickened with powdered sugar). If piping in white, you can wait just a bit before piping to make it sit on top, but you'll need to wait 24 hours in order to pipe in colored royal icing. The cookies need a full 24 hours to dry completely. Don't stack them before that.
After frosting cookies, put them in front of a fan for 30 minutes or so to help minimize the chance of butter bleed.
Wilton Sugar Cookie – also known as No Fail Sugar Cookie ‘NFSC’
1 c. butter-softened (not melted in microwave)
1 c. sugar
1 tsp. vanilla
1 egg
2 tsp. baking powder
3 c. flour
Mix in a Kitchen Aid, cut recipe in half for a hand mixer or you'll burn up the motor.
Bake at 350 for 10-11 min 375 8-9 minutes. Adjust to your oven of course. Rotate trays halfway through baking. The higher temperature you use, the closer you'll need to watch your cookies. I bake at 365 for 5 minutes, rotate, bake 4 more minutes, then I check every minute.
Dough can be used right away, refrigerated 3-4 days, or frozen for up to a month.
Microwave gently to make it easier to roll out.
Glace Frosting
2 lb. powdered sugar
½ c. water + extra if needed
1 tsp. clear extract of choice
I use clear butter flavoring
Add white food color (I use 12 drops) to limit butter bleed.
¼ c. corn syrup - I add this at the end
Make frosting a bit thicker until you get more comfortable using it. I use a small spray bottle to thin if/when needed.
Icing can be kept in the refrigerator. Be sure to bring everything to room temp. before using.
This frosting dries hard to the touch but stays soft to the bite.
Keep frosting covered when not in use to avoid it thickening up.
The corn syrup settles, so be sure to mix well if it's been sitting.
Cookies need 24 hours (uncovered) to dry completely before stacking.
Don't forget the fan for the first 30 minutes.
Small Batch Royal Icing
2 Tbsp. Meringue powder
¼ c. water
Mix well
Add 2 c. powdered sugar
I like to add a tsp. or so of corn syrup to add a bit of shine
1 tsp. clear flavoring
Mix on low for 7 minutes
Try to avoid adding extra water unless you absolutely need it, then only a drop at a time.
Refrigerate leftovers, mix well prior to using as it tends to separate.
https://thebearfootbaker.com/beginners-guide-to-cookie-decorating/
Visit here https://terisdesserts.com/classes to see a video of me dipping a cookie.


No comments:
Post a Comment